
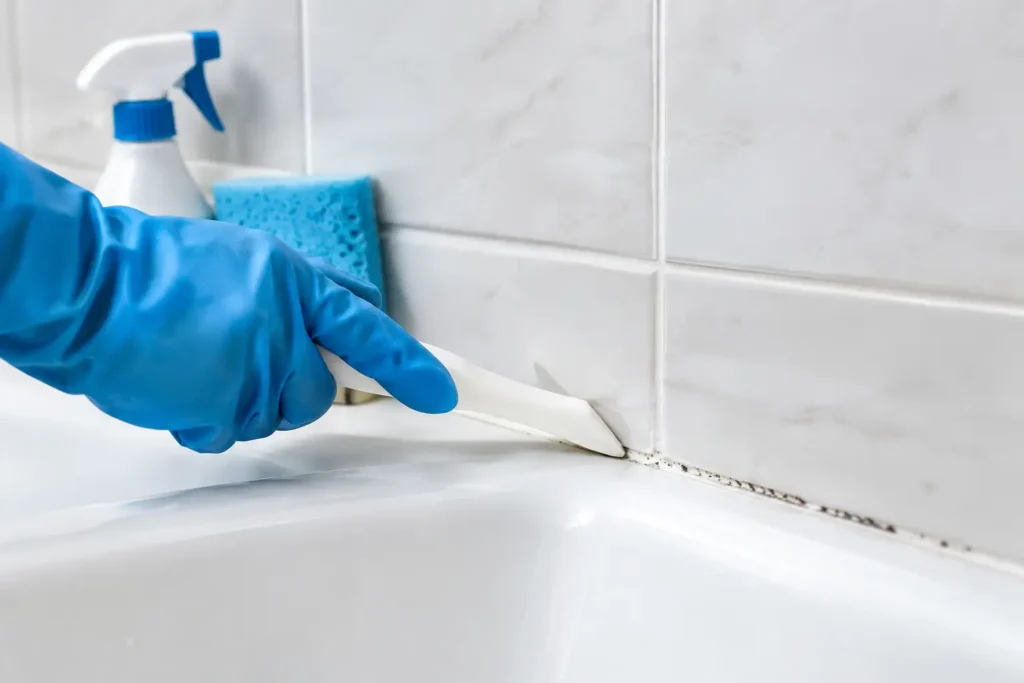
Mold along a bathtub, shower, or bathroom sink is more than an eyesore. It usually means the caulk has stopped doing its job, allowing moisture to sit where it does not belong. Knowing how to remove moldy caulk correctly helps protect the wall behind the tile, keeps water out of the joint, and gives your bathroom a clean finished look again.
Surface mildew can sometimes be cleaned. But when staining is deep in the caulk, keeps returning, or appears behind the bead, replacement is the reliable fix. Do not waste a weekend repeatedly bleaching caulk that has already failed.
When Moldy Caulk Needs to Be Removed
A few dark spots on an otherwise smooth, firmly attached bead may respond to cleaning. If the caulk is white but has light surface staining, a bathroom-safe mold cleaner and thorough drying may buy you time.
Removal is the better choice when the caulk is cracked, peeling, shrunken, soft, or pulling away from the tub, tile, countertop, or wall. Replace it when mold has penetrated the material, too. A clean-looking bead that has separated from the surface can still let water travel behind it.
Pay close attention to these areas: the horizontal joint where a tub meets tile, shower corners, around shower doors, and the seam around a bathroom vanity backsplash. These locations stay wet longer and are common failure points.
What You Need Before You Start
The job is simple, but the prep matters. Have a sharp utility knife or caulk-removal tool, a plastic scraper, needle-nose pliers, clean rags, a non-abrasive scrub pad, painter’s tape, and a caulk gun ready. You will also need a bathroom cleaner or mold cleaner, rubbing alcohol, and fresh 100% silicone kitchen-and-bath caulk with mildew resistance.
Wear gloves and eye protection. Open a window or run the bathroom exhaust fan while using cleaners or caulk. Never combine cleaning chemicals. In particular, do not mix bleach with vinegar, ammonia, or any other product. If you use a bleach-based cleaner, rinse the area thoroughly and let it dry before applying new caulk.
A plastic scraper is safer than a metal blade on acrylic tubs, fiberglass showers, and finished countertops. Metal tools can scratch a surface fast, especially when you are working close to the edge of tile.
How to Remove Moldy Caulk Step by Step
1. Dry the Area Completely
Start with a dry shower or tub. Wipe down the joint and let the room air out. Caulk is easier to remove when the surface is dry, and a dry joint lets you see exactly where the old bead begins and ends.
If the shower has been used recently, wait several hours. For a heavily used bathroom, it is often best to begin the project in the evening and leave the new caulk to cure overnight or longer.
2. Cut Along Both Edges of the Caulk Bead
Use a utility knife or caulk-removal tool to score the top and bottom edges of the old caulk. Hold the blade at a shallow angle and work slowly. The goal is to break the bond between the caulk and each surface, not to cut into the wallboard, grout, tub, or countertop.
On tile, run the blade along the tile edge and the tub edge. In corners, make several light passes instead of forcing one deep cut. Slow, controlled work prevents damage and leaves less cleanup later.
3. Pull Out the Old Caulk
Once both sides are cut, grab a loose end with needle-nose pliers and pull steadily. In the best case, the caulk comes out in long strips. More often, it breaks into sections. That is normal.
Use the plastic scraper to lift stubborn pieces. Do not leave small fragments behind just because they are hard to see. New silicone will not bond well over old silicone residue, and that weak spot can become the first place water gets behind the joint.
4. Remove Residue and Clean the Joint
After the main bead is out, inspect the joint closely. A commercial caulk remover can help soften remaining silicone, but follow the product directions and test it in a hidden spot first. Some surfaces, especially plastic fixtures and painted trim, can be damaged by aggressive solvents.
Scrape away residue with a plastic tool, then clean the exposed joint. If mold is visible behind the old caulk, treat it with an appropriate bathroom mold cleaner. Scrub gently, rinse as directed, and wipe away all cleaner residue.
For the final wipe, use rubbing alcohol on a clean cloth. It removes soap film and oils that can interfere with adhesion. Then let the joint dry completely. This is not the step to rush. Caulking over moisture can trap water behind the bead and lead to another mold problem.
5. Check for Water Damage Before Recaulking
With the caulk removed, look for soft drywall, loose tile, crumbling grout, swollen trim, or a musty odor. These are signs that the issue may go beyond the caulk itself.
A small amount of surface mold at a shower seam is usually a maintenance problem. But recurring mold, soft materials, or water staining can point to a plumbing leak, failed waterproofing, poor ventilation, or damage behind the wall. Caulk is a sealant, not a repair for a hidden leak. Address the cause before sealing the area again.
Apply New Caulk the Right Way
Choose 100% silicone labeled for kitchens and baths. It is more water-resistant and flexible than many acrylic products, making it the right choice around tubs, showers, sinks, and backsplashes. Acrylic latex caulk is easier to tool and clean up, but it is generally not the best long-term option for constantly wet areas.
If you want crisp lines, apply painter’s tape on both sides of the joint, leaving the width you want for the new bead. Cut the caulk tube nozzle at a 45-degree angle, starting with a small opening. A narrow opening gives you better control and reduces waste.
Apply steady pressure to the caulk gun and move at a consistent speed. You want one continuous bead that fills the joint without excessive buildup. Tool it immediately with a caulk-finishing tool or a gloved finger lightly dampened according to the caulk manufacturer’s guidance. Remove the tape before the caulk skins over.
Do not use the shower, tub, or sink until the caulk has cured for the full time listed on the tube. Many products need at least 24 hours, while some require longer depending on humidity and bead depth. Using the fixture too soon can compromise the seal before it has a chance to set.
Keep New Caulk From Getting Moldy Again
Mold needs moisture, residue, and time. The best prevention is getting the area dry after use. Run the exhaust fan during showers and for at least 20 to 30 minutes afterward. If your fan is weak, noisy, or not venting properly, improving bathroom ventilation can make a real difference.
Wipe down shower walls, doors, and the tub edge after use when possible. This is especially helpful in busy family bathrooms where several showers happen each day. Clean soap scum regularly because it gives mildew a surface to cling to.
Also check the caulk a few times each year. Catching a small split or gap early is far easier than dealing with moisture damage behind tile. If the bead repeatedly turns moldy despite regular cleaning and proper ventilation, it is time to look for a leak or an installation issue rather than simply applying more cleaner.
A clean caulk line is a small detail that protects a much larger investment. When the joint will not stay dry, tile is loose, or you suspect water has gotten behind the wall, bring in a qualified repair team before a simple caulk replacement turns into a larger bathroom repair.