
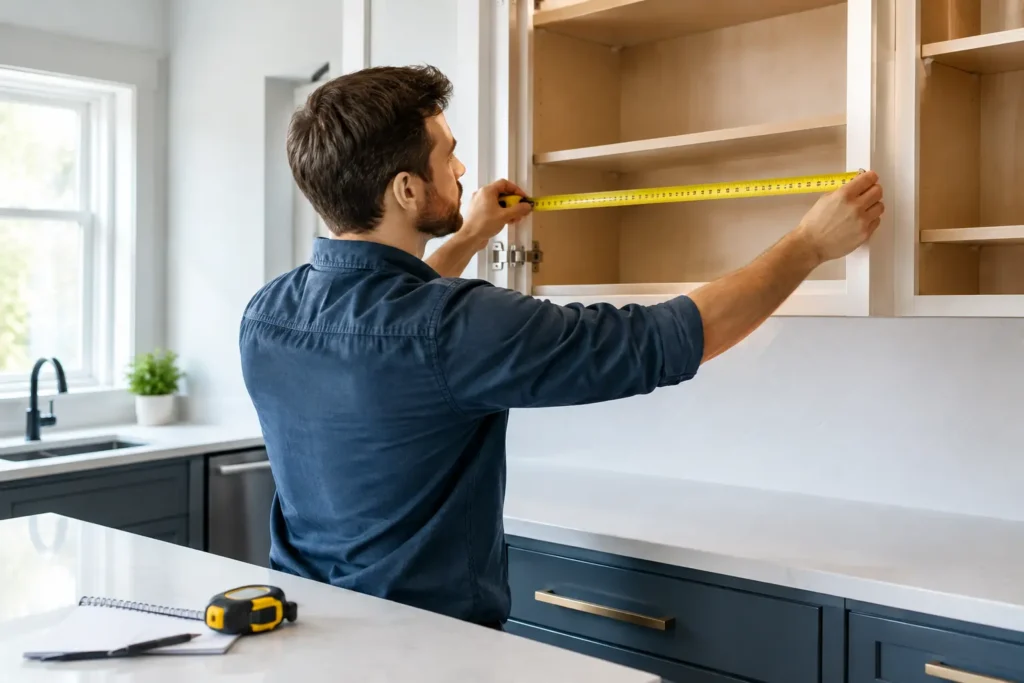
A kitchen can look straightforward until cabinets arrive and a wall is out of square, a window sits lower than expected, or a refrigerator door has no room to open. This guide to kitchen cabinet measurement helps you capture the details that determine whether your new kitchen fits properly from the first installation day. Accurate measurements reduce surprises, protect your budget, and let your cabinet and countertop work move forward without unnecessary delays.
You do not need to create a professional construction drawing to begin. You do need a clear plan, a good tape measure, and the discipline to record every measurement before selecting cabinets. Measure twice, write everything down, and leave final ordering and installation verification to an experienced cabinet professional.
Start With the Right Measuring Tools
Use a 25-foot tape measure, pencil, graph paper, a straightedge, and your phone or camera. A laser measure can help with long walls, but it should not replace a tape measure around corners, windows, and uneven surfaces. Take photos of every wall, appliance connection, plumbing line, window, and outlet while you measure. Pictures give your installer context that numbers alone cannot.
Measure in inches and label every number clearly. Do not round up or down because a measurement looks close enough. A half-inch can matter when cabinets meet a wall, a dishwasher fits beneath a counter, or a countertop seam must land in the right location.
Guide to Kitchen Cabinet Measurement: Measure the Room First
Begin with the room itself, not the existing cabinets. Existing cabinets can hide crooked walls, damaged drywall, plumbing changes, or floor variations. Your new layout must fit the actual room.
Draw the kitchen as a simple overhead floor plan. It does not need to be artistic. Mark each wall, doorway, window, opening, and appliance location. Then measure wall by wall, moving clockwise around the room so nothing gets missed.
For each wall, record the full length from corner to corner. Measure at the floor level, at countertop height, and near the ceiling. If the numbers differ, the wall may bow or taper. Use the smallest measurement as your planning reference until a professional site check confirms how fillers, scribe panels, or wall repairs should be handled.
Next, measure ceiling height in several places. Standard cabinets are built around common dimensions, but older homes and renovated spaces often have uneven ceilings. Record the height at both ends of each cabinet wall and near the center. This is especially important when planning tall pantry cabinets, stacked upper cabinets, crown molding, or cabinets that run close to the ceiling.
Also measure the floor. Check from wall to wall and look for noticeable slopes. A level floor makes cabinet installation easier, but many homes need shimming and adjustment. Your installer needs to know about these conditions before setting base cabinets and preparing for countertops.
Record Doors, Windows, and Openings
A door is more than its width. Measure the rough location of the opening from the nearest corner, then record the door width, height, trim depth, and swing direction. Note whether it opens into the kitchen and how far the door projects when fully open. A cabinet may technically fit on paper but block the pathway or interfere with the door.
For windows, measure the width and height of the opening, plus the distance from each side to the nearest corner. Record the height from the floor to the bottom of the window and from the countertop area to the sill. This matters when a sink cabinet is planned below the window or when upper cabinets will sit nearby.
Do not forget pass-throughs, archways, columns, soffits, bulkheads, and radiators. These features affect cabinet runs and can limit the height or depth of cabinetry. If there is an old soffit above the cabinets, measure its depth and height. Removing it may create more storage, but it can also reveal electrical wiring, plumbing, or ductwork that needs to be addressed.
Measure Appliances Before Choosing Cabinet Sizes
Appliances set the spacing for much of the kitchen. Never assume a replacement refrigerator, range, dishwasher, or microwave will fit exactly where the old one sits. Get the manufacturer specifications for every appliance you plan to keep or buy, then verify the physical dimensions in person whenever possible.
Measure the width, height, and depth of the appliance. Include handles, cords, water lines, vent connections, and required clearances. Refrigerators need room for doors to swing open. Ranges need the correct space for side clearances and ventilation. Dishwashers require the right opening width and a practical route for water supply, drain, and electrical connections.
Pay close attention to refrigerator depth. A standard-depth refrigerator can project well beyond cabinet faces, while a counter-depth model may fit the layout better but provide less interior storage. Neither option is automatically better. The right choice depends on your household, aisle space, and how much storage you need.
Locate Plumbing, Electrical, and Venting
Mark the centerline and height of the sink drain, water supply valves, gas line, range outlet, refrigerator water line, and electrical outlets. For a range hood or microwave, record the vent location, duct size, and route if one exists. Moving plumbing or electrical is possible, but it affects cost, scheduling, and the cabinet layout.
This is where a one-company approach can save time. If a cabinet plan requires a sink move, new outlet, plumbing repair, or countertop adjustment, coordinating those services under one team helps prevent handoff problems between separate contractors.
Look carefully for outlets located where upper cabinets, backsplash, or appliance panels will land. An outlet can often be moved, but it should be identified before cabinets are ordered. The same applies to shutoff valves that may become difficult to access after a base cabinet is installed.
Plan Cabinet Runs and Functional Clearances
Once the room and fixed features are documented, sketch where base cabinets, upper cabinets, tall cabinets, and appliances may go. Start with the sink, range, and refrigerator because they drive workflow. Then fill in the remaining storage with drawer bases, pantry cabinets, corner solutions, and upper cabinets.
Base cabinets are commonly 24 inches deep, while upper cabinets are usually shallower. Those standard sizes are useful, but they do not eliminate the need for careful planning. A narrow kitchen may need reduced-depth cabinets or a different layout to preserve a comfortable walkway.
Allow enough space for people to pass, unload groceries, open cabinet doors, and work around appliances. Kitchen aisles are often planned around 36 to 42 inches, with more room preferred in busy work zones. If two people regularly cook in the space, tight clearances become frustrating quickly.
Corner cabinets need special attention. A corner base cabinet may require filler space so adjacent drawers and doors can open without hitting handles. The same issue appears beside walls, refrigerators, and tall pantry cabinets. Fillers are not wasted space. They often provide the clearance needed for a finished, functional installation.
Check for Walls That Are Not Square
Most kitchens are not perfectly square, especially in older homes. Measure each diagonal across the room or across a cabinet area. If the diagonals differ, the space is out of square. This does not mean the project cannot move forward. It means the installer may need scribe strips, fillers, panel adjustments, or countertop templating to create a clean result.
Never order cabinets by adding wall measurements and assuming every inch will be filled with cabinet boxes. Leave room for installation tolerance. Walls move, drywall varies, and cabinets must be leveled even when floors are not. A tight plan with no adjustment space can create expensive problems on installation day.
Use This Final Measurement Check
Before you finalize a cabinet order or installation schedule, confirm these details:
- Overall wall lengths at multiple heights
- Ceiling heights and floor level changes
- Door, window, and opening locations with trim included
- Appliance dimensions, clearances, and door swings
- Plumbing, electrical, gas, and vent locations
- Cabinet depth, aisle clearance, and corner filler requirements
Bring your sketch, dimensions, and photos to the cabinet planning appointment. Cobo Kitchen Master & Home Repair can help verify the layout, coordinate needed repairs or plumbing work, and prepare the space for professional cabinet and countertop installation.
The best time to find a measurement issue is before materials are selected, not after a cabinet is sitting in your kitchen. Take the extra time to measure carefully, then let a qualified installer confirm the final plan and turn those numbers into a kitchen that works the way your household needs it to.