
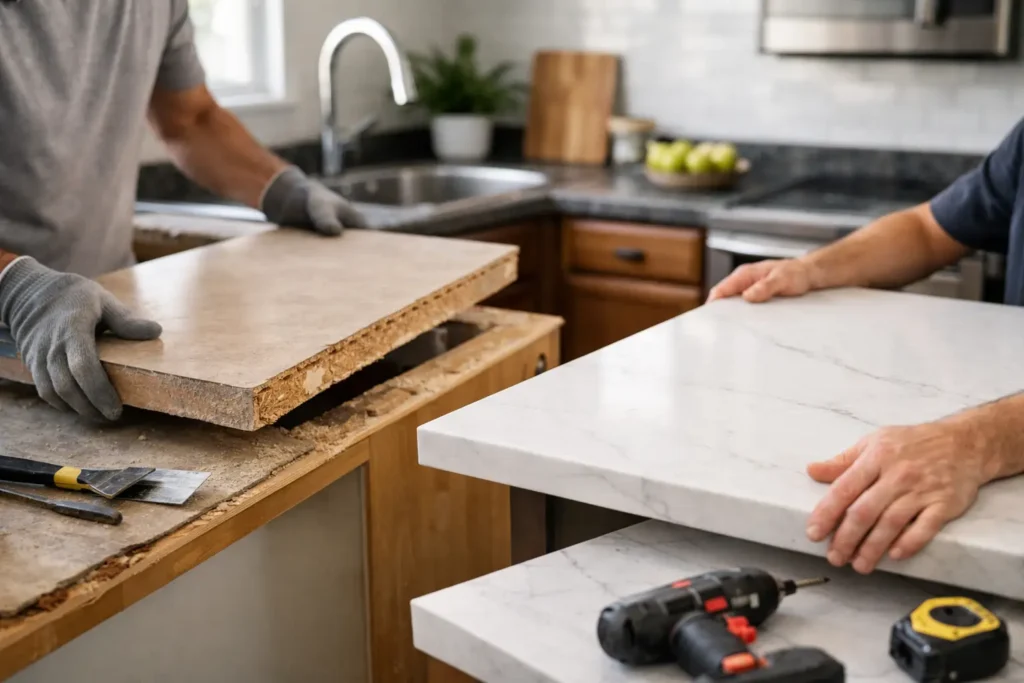
A worn countertop can make the whole kitchen feel dated, even when the cabinets still have years of life left. Knowing how to replace old countertops helps you plan the job correctly, avoid damage to cabinets and plumbing, and get a finished surface that fits the way your household actually uses the kitchen.
Countertop replacement is not just a matter of removing one slab and dropping in another. Measurements, cabinet condition, sink cutouts, backsplash details, material weight, and installation timing all affect the result. A fast job is possible, but it has to be organized from the start.
How to Replace Old Countertops: Start With the Cabinet Base
Your new countertop is only as stable as the cabinets beneath it. Before selecting a material or scheduling removal, inspect the cabinet boxes, wall attachment points, and level of the base cabinets.
Open the doors and look for water stains, swollen particleboard, loose screws, sagging rails, or soft areas around the sink cabinet. Minor issues can often be repaired before installation. If the cabinets are severely damaged, uneven, or pulling away from the wall, installing a heavy new surface over them may create bigger problems later.
Use a level across the cabinet run and from front to back. Small variations can be shimmed and corrected by an experienced installer. Major dips, twists, or movement need to be addressed before templating a stone or solid-surface countertop. Do not assume a new countertop will hide an uneven cabinet base. It will usually make the problem more obvious.
Choose a Material That Fits the Kitchen and Your Schedule
The best countertop is not automatically the most expensive one. It is the one that fits your budget, maintenance expectations, cooking habits, and desired turnaround time.
Laminate remains a practical choice for rental properties, budget-conscious updates, and quick transformations. It offers many colors and patterns, requires simple care, and is lighter than stone. Its main trade-off is lower heat and scratch resistance compared with premium materials.
Quartz is popular for busy households because it delivers a consistent appearance and does not need routine sealing. It is durable and easy to clean, but it is heavy, requires professional fabrication, and should not be exposed to extreme heat.
Granite provides natural variation, so no two slabs look exactly alike. It handles heat well and adds value to many kitchens, though it typically requires periodic sealing and careful selection because color and veining vary from slab to slab.
Solid surface countertops can be a smart middle ground when homeowners want integrated seams and a repairable finish. But they can scratch more easily than quartz or granite. Butcher block brings warmth and character, especially to islands, but it needs regular maintenance and protection from standing water.
Material availability matters as much as material choice. A countertop that looks perfect in a showroom does not help if it is backordered for weeks. For homeowners trying to avoid delays, confirm what is in stock before finalizing the design.
Measure Carefully Before Ordering Anything
Countertop measurements involve more than length and depth. You need accurate dimensions for every cabinet run, corner, overhang, wall condition, cooktop, sink, faucet, backsplash, and end panel.
Start with a rough layout for planning, but do not use homeowner measurements as the final fabrication dimensions for stone or custom-cut materials. Walls are rarely perfectly straight, corners are not always square, and cabinets can shift slightly over time. Professional templating captures those conditions so the finished countertop fits the actual kitchen, not an ideal drawing.
Decide whether you are keeping the existing sink and faucet. An undermount sink, for example, may require a specific cutout and mounting method. A new faucet may need one, two, or three holes, depending on the style and whether it includes a separate sprayer or soap dispenser. Confirm these details before fabrication begins.
Also consider overhangs. A standard countertop overhang at the cabinet front is usually modest, while a seating area at an island may require additional support. Heavy stone overhangs can need brackets or corbels. Skipping that support can lead to cracking or movement over time.
Prepare the Kitchen Before Countertop Removal
Countertop replacement creates dust, noise, and a temporary loss of sink access. Good preparation keeps the work controlled and prevents unnecessary damage.
Clear everything from the countertop, lower cabinets, and nearby open shelving. Move small appliances, dishes, and food away from the work area. Create a temporary kitchen station with a coffee maker, microwave, and basic supplies if the project will take more than a day.
The sink plumbing must be disconnected before removal. Shut off the hot and cold water valves, disconnect the supply lines, and remove the drain connections. If the shutoff valves are old or corroded, this is often the right time to replace them rather than risk a leak when the sink is reconnected.
Turn off power to any outlets or appliances that may be affected. A cooktop, garbage disposal, dishwasher connection, or countertop outlet may need to be disconnected or adjusted. Plumbing and electrical work should be handled properly, not improvised around a new countertop.
Remove the Old Countertop Without Damaging the Cabinets
The removal method depends on the existing material. Laminate countertops are often attached with screws through corner blocks or mounting strips inside the cabinets. After disconnecting the sink and removing caulk, these tops can sometimes be lifted off in sections.
Tile countertops are more labor-intensive. Tile, mortar, and backer board can be firmly bonded to the cabinet base, and demolition can damage drywall or cabinet edges if done aggressively. Stone countertops are extremely heavy and may be installed in large pieces. They require careful handling, multiple people, and the right equipment to prevent injuries and cabinet damage.
Do not force a countertop upward if it is still secured at the wall, cabinet base, or backsplash. Check for screws, adhesive, and brackets first. Protect cabinet faces with cardboard or drop cloths, and cover flooring before demolition begins.
This is one reason professional replacement is often the safer route. The goal is not simply to get the old material out. The goal is to leave a clean, level cabinet base ready for the new installation.
Install the New Countertop With the Right Details
Once the old surface is removed, the cabinet base should be cleaned, leveled, and inspected one more time. Installers position the countertop, check wall alignment and overhang, then secure it according to the material and manufacturer requirements.
For stone surfaces, seams should be placed thoughtfully and joined tightly. A visible seam is sometimes unavoidable, especially in L-shaped kitchens or long runs, but proper color matching and alignment make a major difference. For laminate or wood tops, edges, joints, and water protection around the sink deserve close attention.
After the countertop is set, the sink, faucet, disposal, and drain lines can be reinstalled. This is the moment to test every connection. Run water through both sides of the sink, fill the basin, drain it, and inspect the cabinet below for leaks. Test the faucet, disposal, dishwasher, and nearby outlets before considering the job complete.
Caulk is the final line of defense at the wall and sink edges. It should be neat, continuous, and appropriate for wet areas. Rushed caulking can leave gaps that allow water behind the countertop or into the cabinet base.
Know When a Simple Replacement Becomes a Bigger Project
Sometimes removing old countertops reveals problems that were hidden for years. Water damage beneath the sink, mold, loose cabinets, outdated plumbing, or damaged drywall can change the scope of work. That is not a reason to stop the project. It is a reason to fix the underlying issue before covering it with a new surface.
If you are changing countertop thickness, adding a deeper sink, replacing cabinets, moving plumbing, or installing a new backsplash, coordinate those decisions in the right order. Countertops should not be treated as an isolated upgrade when several connected kitchen components are being changed.
Cobo Kitchen Master & Home Repair provides the advantage many homeowners need during this type of project: one team for cabinet work, countertop installation, sink and faucet connections, plumbing repairs, and the finishing details that keep the job moving. Having materials and installation under one provider reduces the handoffs that commonly slow down a kitchen update.
A new countertop should make your kitchen easier to use, easier to clean, and more dependable every day. Plan for the details behind the surface, choose materials you can get without unnecessary waiting, and make sure the installation is completed with the same care you expect from the finished kitchen.