
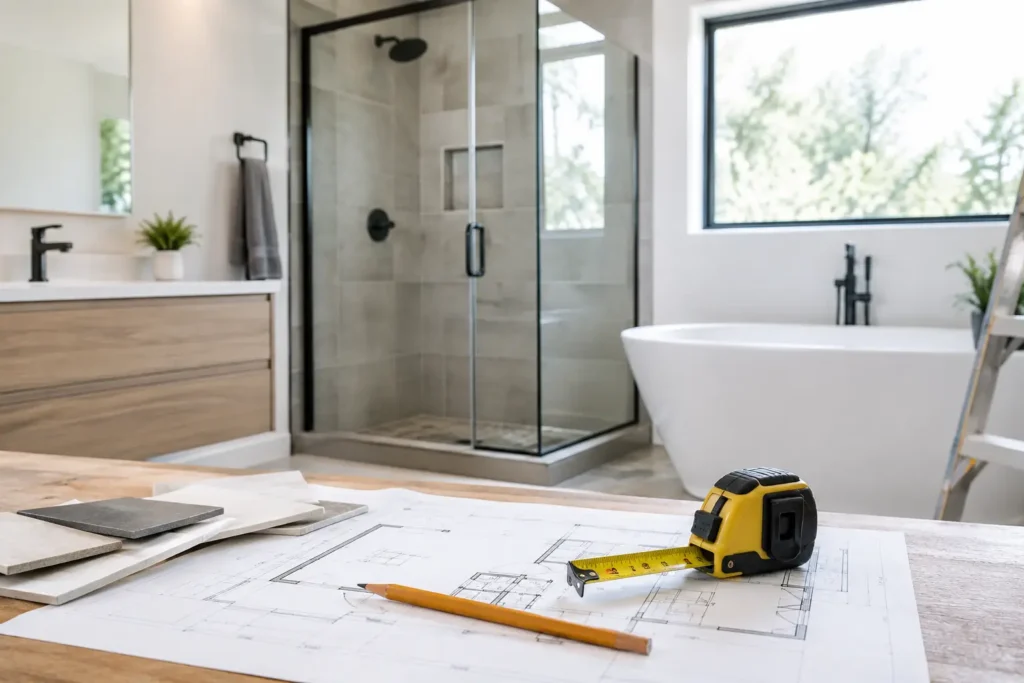
A bathroom that is out of service affects the whole house. One shower becomes a traffic problem, dust travels farther than expected, and every missing part can push the finish date back. This bathroom renovation timeline example shows what a well-organized, standard full-bath remodel can look like when materials are ready and one qualified team manages the work.
A typical bathroom renovation takes about two to four weeks once construction begins. A simple cosmetic refresh may take less time. Moving walls, relocating plumbing, uncovering water damage, or waiting on special-order materials can take longer. The difference is usually not effort. It is planning, product availability, and making decisions before demolition starts.
What This Bathroom Renovation Timeline Example Covers
This example assumes a hall or primary bathroom with a new vanity, toilet, bathtub or shower, tile, plumbing fixtures, lighting, paint, and basic flooring. The layout stays largely the same, which helps control both cost and schedule.
Before day one, the homeowner has already selected the vanity, countertop, sink, faucet, toilet, shower fixtures, tile, grout color, mirror, lighting, and accessories. Measurements have been confirmed, and the core materials are either on site or available in stock. That preparation matters. A contractor cannot install a faucet that has not arrived or set a vanity before the countertop is measured and ready.
Week 0: Planning, Selections, and Site Check
The work starts before anyone removes a tile. A contractor should inspect the room, confirm dimensions, check plumbing locations, identify electrical needs, and look for signs of moisture around the shower, toilet, and vanity. This is also when the scope should become clear: Are you replacing surfaces only, or changing the tub, shower valve, flooring, ventilation, and lighting?
A dependable schedule needs firm choices. Switching from a standard vanity to a custom size midway through the job can change countertop fabrication, plumbing placement, and delivery timing. If the goal is a fast renovation, choose available materials that fit the room and approve them before demolition.
Permits may be required when plumbing or electrical systems are significantly changed. Requirements vary by municipality, and inspections can affect the timeline. A professional contractor plans for that instead of treating it as a surprise.
A 15-Day Bathroom Renovation Timeline
Days 1-2: Protection and Demolition
The crew protects nearby floors and access paths, shuts off water as needed, and removes the old fixtures, vanity, flooring, wall finishes, and damaged materials. Demolition often reveals the real condition of the room.
Minor staining or an old flange may be a quick repair. Soft subflooring, hidden mold, a leaking pipe, or severely damaged framing needs to be addressed before new finishes go in. Covering a problem with fresh tile is not a renovation. It is a future repair bill.
Days 3-5: Rough Plumbing, Electrical, and Structural Repairs
With the walls open, the team handles the work that will be hidden later. This may include replacing supply lines, updating drain connections, installing a new shower valve, moving a light, adding a GFCI outlet, or correcting framing so walls are straight and ready for tile.
This phase is where keeping the layout in place saves time. Moving a toilet or shower can be done, but it may require drain relocation, additional permits, floor work, and more inspection steps. For many homeowners, upgrading fixtures in the existing footprint gives a major visual improvement without turning a two-week project into a month-long construction zone.
If an inspection is required after rough work, it must happen before walls are closed. A good contractor coordinates this early and keeps the job moving while waiting on any necessary approval.
Days 6-7: Walls, Backer Board, and Waterproofing
Next comes cement board or other approved tile backer in wet areas, drywall where appropriate, and waterproofing around the shower or tub. This step cannot be rushed. Tile and grout are not waterproof on their own. The protection behind them is what keeps water from reaching framing and subfloors.
Drying and curing times matter here. Some waterproofing systems allow quicker turnaround than others, but the crew must follow the product requirements. Skipping a cure window to save a day can create a serious failure later.
Days 8-10: Tile Installation
The shower walls, tub surround, floor, or accent areas are tiled according to the approved layout. Larger-format tile may create a clean, modern look, but it requires flat surfaces and careful handling. Detailed patterns, niches, benches, and decorative borders add labor and can extend this phase.
Tile work is one area where speed should never mean sloppy execution. Proper layout prevents narrow cuts in obvious places, level lines keep the room looking clean, and correct spacing makes grout joints consistent. Once tile is installed, it needs time to set before grouting.
Day 11: Grout, Caulk, and Paint Prep
After the tile has set, grout is applied and corners are sealed with the right flexible caulk. Walls and ceilings receive final prep for paint. This is also a good point to confirm that every fixture and finish is ready for installation.
Small details can hold up the final days. A missing trim plate, incorrect drain cover, damaged mirror, or backordered light fixture is enough to leave a nearly finished bathroom incomplete. Confirming materials before the job begins is how those avoidable delays are prevented.
Days 12-13: Vanity, Countertop, Fixtures, and Lighting
The vanity is installed and leveled, followed by the countertop, sink, faucet, toilet, shower trim, lighting, exhaust fan cover, and accessories. Plumbing connections are tested for leaks, drains are checked for proper flow, and electrical components are tested.
Countertops deserve special attention. Some countertop materials can be cut and installed quickly when available in stock and accurately measured. Custom stone fabrication may require a separate template and production window, which can add one to two weeks or more. If speed is the priority, discuss countertop availability at the start.
Days 14-15: Final Touches and Walkthrough
The final stage includes paint touch-ups, trim, shower doors if included, hardware, mirror installation, caulking, cleanup, and a full walkthrough. The contractor should check cabinet doors, grout lines, fixture operation, water pressure, drainage, and finish quality before calling the project complete.
The homeowner should also receive clear guidance on cure times. For example, a new shower may need to remain unused for a specified period after grouting or sealing. Using it too soon can damage work that was completed correctly.
What Can Extend the Schedule?
Even a well-managed bathroom remodel has variables. Hidden water damage is the most common. Older homes may also have corroded plumbing, uneven framing, outdated wiring, or subfloors that need repair before tile can be installed.
Material lead times are another major factor. Custom cabinets, specialty tile, glass shower doors, and made-to-order countertops can turn a three-week construction plan into a longer project. There is nothing wrong with choosing custom materials, but homeowners should understand the trade-off: a specific look may require more waiting.
Changes during construction also add time. Changing tile direction, moving a vanity after rough plumbing, or replacing a selected fixture after installation begins creates rework. Make decisions early, then let the crew execute the plan.
How to Keep Your Bathroom Renovation on Track
The fastest projects are not rushed projects. They are prepared projects. Confirm the full scope, choose products that are available, keep a realistic budget for hidden repairs, and work with one company that can coordinate supply, plumbing, installation, and interior repair.
Cobo Kitchen Master & Home Repair helps homeowners avoid the usual handoffs between suppliers, installers, plumbers, and repair crews. Having materials in stock and a team ready to handle the work means fewer calls, fewer scheduling gaps, and clear accountability from start to finish.
A bathroom renovation should not leave your home in limbo for weeks longer than necessary. Start with a complete plan, insist on proper waterproofing and skilled installation, and choose a team that is ready to begin when you are.