
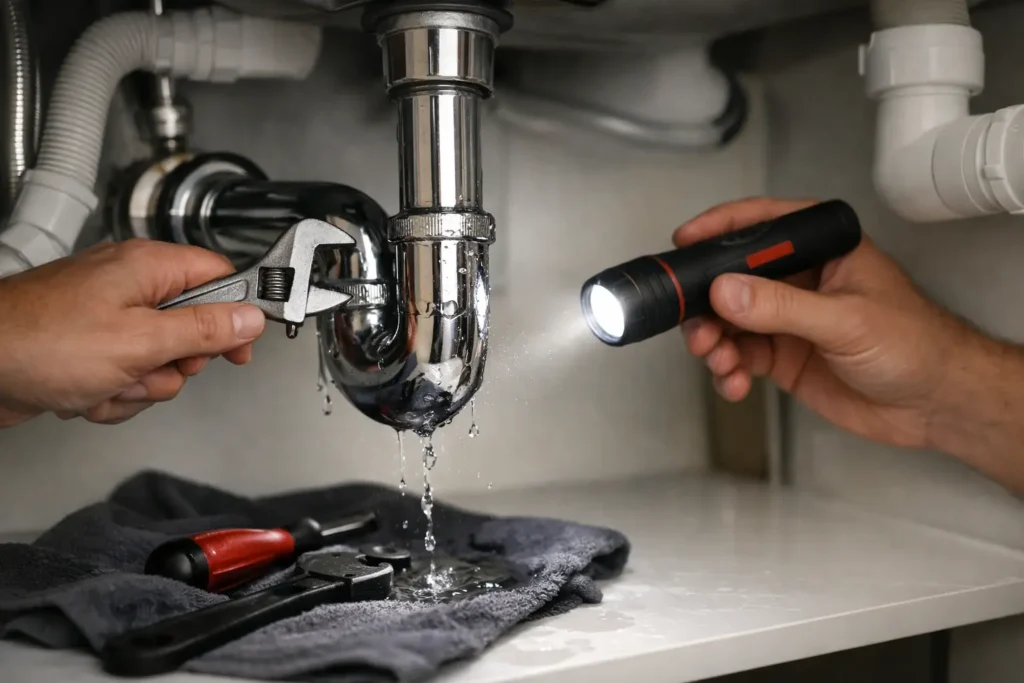
A cabinet base soaked around the drain is more than an inconvenience. Water can swell particleboard, damage stored items, create odors, and turn a small plumbing issue into an expensive repair. Knowing how to fix a leaking sink drain starts with one rule: identify exactly where the water begins before tightening or replacing anything.
Most sink drain leaks come from a loose slip-joint connection, a worn washer, a failed drain flange seal, or a damaged drain pipe. Some repairs are straightforward for a homeowner. Others, especially leaks behind a wall or around a disposal, need professional attention before the water damages cabinets, flooring, or adjacent rooms.
Find the Exact Source of the Leak
Empty the cabinet under the sink and dry every pipe, nut, and connection with a towel. Place a dry paper towel or a few sheets of toilet paper beneath the drain assembly. Then fill the sink partway and release the water while watching closely with a flashlight.
Do not assume water on the bottom of the cabinet means the P-trap is leaking. Water can run down from the sink basket, faucet supply lines, garbage disposal, dishwasher hose, or a crack in the sink itself. The first wet spot tells you where to focus.
A leak that appears only while the sink is full usually points to the drain flange or sink strainer. A leak that starts when water drains often comes from the tailpiece, P-trap, or wall connection. If the cabinet gets wet when the faucet is running but the drain is closed, inspect the faucet and supply lines instead.
How to Fix a Leaking Sink Drain at the Connections
Under most kitchen and bathroom sinks, the visible drain pipes are joined with slip nuts and tapered washers. These connections are designed to come apart for cleaning, but they must be aligned properly to seal.
Start by hand-tightening the leaking slip nut. Turn it clockwise only until it is snug. Test the sink again. If it still leaks, do not keep forcing the nut tighter. Overtightening can crack plastic fittings, distort a washer, or make the leak worse.
If tightening does not stop the leak, place a bucket under the trap and loosen the affected connection. Pull the pipe apart and inspect the washer inside the nut. A good washer is flexible, evenly shaped, and seated squarely. Replace it if it is flattened, split, hardened, or missing.
Reinstall the washer with its tapered edge facing into the fitting it seals against. Line up the pipe without pulling it sideways, then hand-tighten the nut. Use adjustable pliers for a small final turn only if necessary. Run water for several minutes and check the connection with a dry paper towel.
Repair a Leak at the Sink Strainer or Drain Flange
If water seeps from the top of the drain assembly while the basin is holding water, the seal between the sink and drain flange may have failed. This is common in older sinks and after a drain has been replaced or bumped during cabinet work.
For a standard sink strainer, remove the drain pipes below it first. Loosen the large locknut that holds the strainer to the sink. The exact setup varies by sink, but the goal is the same: remove the old sealant, clean the sink opening and flange thoroughly, and reseal the assembly correctly.
Plumber’s putty is commonly used under a metal kitchen sink strainer. Some manufacturers call for silicone instead, particularly with certain composite, stone, or specialty sink materials. Use the product recommended for your sink and drain assembly. The wrong sealant can stain natural stone or fail to bond properly.
Set the strainer evenly, tighten the locknut from below, and wipe away excess putty or silicone from above. Reconnect the drain after the sealant has been applied according to product instructions. Then fill the sink and let it sit for several minutes before draining it. This checks both the flange seal and the pipe connections in one test.
Check the P-Trap for Cracks and Poor Alignment
The curved pipe under the sink is the P-trap. It holds water to block sewer gas from entering the home, so it should never be removed and left off. It can, however, leak at its slip nuts or through a hairline crack caused by age, impact, or overtightening.
Look for white mineral streaks, rust, green corrosion on metal, or repeated moisture around the curve of the trap. If the pipe itself is cracked, replacement is the right repair. Tape, glue, and temporary patch compounds do not provide a dependable long-term seal on a drain that moves and carries wastewater every day.
Pipe alignment matters just as much as the condition of the parts. A P-trap should connect without being forced into position. If the tailpiece is too long, the trap arm is angled sharply, or pipes are under tension, washers will struggle to seal. This often happens after a new sink, disposal, vanity, or countertop installation changes the drain height.
A professional can correct an improperly configured drain rather than repeatedly replacing washers. That is especially worthwhile when the wall pipe sits too high or too low, the drain has been modified several times, or the existing plumbing uses incompatible materials.
Be Careful Around Garbage Disposals
A kitchen sink with a garbage disposal has additional places to inspect. Check the disposal mounting ring, the dishwasher discharge connection, and the discharge tube leading from the disposal to the drain trap. A leak at the mounting ring can look like a sink drain leak because water travels down the disposal body before dripping into the cabinet.
Always turn off power at the breaker before putting hands near a disposal or disconnecting its wiring. If the disposal housing itself is leaking, especially from the bottom, replacement is usually required. Internal seals are generally not a practical repair, and delaying the work risks damage to the cabinet and electrical components below the sink.
Avoid These Common Drain Repair Mistakes
A drain repair should stop the leak without creating a new problem. Avoid using thread tape on slip-joint nuts. These connections seal with washers, not threads, so tape will not solve a damaged washer or misaligned pipe.
Avoid relying on caulk around pipe joints under the sink. It may hide the leak briefly, but it makes future repairs harder and does not correct the cause. Also, do not use harsh chemical drain cleaners to address a leak. They can damage older pipes, weaken seals, and create a safety hazard when the trap must be opened.
If a clog is part of the problem, clear it mechanically with a plunger, drain snake, or proper trap cleaning after placing a bucket underneath. Reassemble the trap with fresh washers if needed, then test it with normal water flow. A drain that backs up can put unusual pressure on weak connections.
When to Call a Professional Plumber
Call for help when the leak continues after a washer or trap replacement, when water is coming from inside a wall, or when the cabinet bottom is already soft, swollen, or moldy. You should also bring in a professional if you see corrosion on shutoff valves, need to move plumbing for a new sink or vanity, or have a disposal leak involving power connections.
Fast repair matters because hidden moisture does not wait for a convenient time. A qualified team can identify whether the issue is a simple drain fitting, a failed sink installation, a damaged pipe, or a larger plumbing problem. Cobo Kitchen Master & Home Repair can handle the drain repair and address related cabinet, sink, countertop, or fixture work without sending homeowners to coordinate multiple contractors.
After the repair, keep the area under the sink clear enough to inspect once in a while. A quick look after heavy use, a disposal jam, or a new fixture installation can catch a small drip before it becomes cabinet damage.