
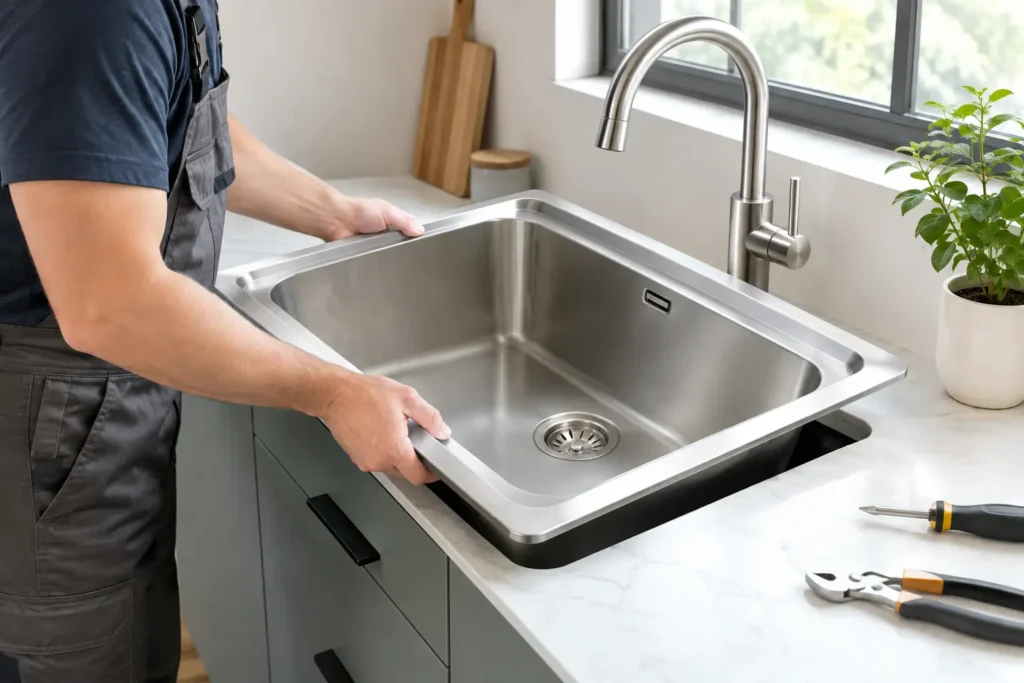
A kitchen sink replacement can look like a simple upgrade until the new sink arrives and does not match the countertop cutout, cabinet space, drain location, or faucet setup. This guide to kitchen sink replacement helps homeowners make the right decisions before demolition starts, so the finished kitchen works as well as it looks.
A properly installed sink should drain quickly, sit securely, resist water damage around the counter, and leave enough room below for plumbing, a disposal, filters, or storage. Getting those details right at the beginning prevents costly corrections later.
Start With the Existing Sink and Countertop
The first question is not which sink style looks best. It is what your existing countertop and base cabinet can support.
Measure the outside length and width of the current sink, the cabinet opening beneath it, and the countertop cutout. These are not always the same dimensions. A new drop-in sink may cover a slightly larger cutout with its rim, while an undermount sink usually requires a precise opening and finished countertop edge.
Countertop material matters just as much. Laminate countertops are commonly paired with drop-in sinks because the sink rim protects the exposed cut edge from water. Granite, quartz, marble, and solid-surface counters can work well with undermount sinks, but the installation must be accurate. An undermount sink is attached below the counter, and poor support or weak sealing can lead to movement, leaks, and damaged cabinetry.
If the countertop is already cracked, swollen around the sink, or due for replacement, it may be smarter to coordinate both jobs. Replacing a sink during a countertop installation gives you more choices and avoids paying twice for cutting, plumbing disconnects, and labor.
Choose a Sink Style That Matches How You Use the Kitchen
Kitchen sinks are not one-size-fits-all. The right option depends on cooking habits, available counter space, cabinet size, and the look you want.
A single-bowl sink provides one large work area for sheet pans, stockpots, and oversized cookware. It is a practical choice for smaller kitchens and households that use a dishwasher for most daily cleanup. A double-bowl sink separates tasks, allowing you to wash on one side and rinse or prep on the other. The trade-off is that each bowl is smaller, which can make large cookware harder to handle.
Farmhouse, or apron-front, sinks create a strong focal point and offer a deep bowl. They also require a compatible base cabinet or cabinet modification. This is not usually a quick sink swap. The cabinet face may need to be cut, reinforced, and refinished, especially when converting from a standard drop-in or undermount sink.
Drop-in sinks are generally the most forgiving replacement option. They install from above and have a visible rim that rests on the counter. Undermount sinks offer a cleaner counter line and make it easy to sweep crumbs directly into the basin, but they require professional mounting and sealing. A workstation sink can add built-in cutting boards, drying racks, and colanders, though it may take up more cabinet and counter space than expected.
Pick the Right Material, Not Just the Right Finish
Stainless steel remains a dependable choice because it is durable, lightweight, and compatible with many kitchen styles. Look for a quality gauge and sound-deadening pads if noise is a concern. Thin stainless sinks can flex, show water spots, and make more noise during use.
Composite granite sinks have a matte, substantial appearance and come in colors beyond stainless steel. They resist many scratches and stains, but they can be heavy and may need added support. Hard impacts can also chip certain composite finishes.
Fireclay offers a traditional, polished look often used in farmhouse sinks. It is highly durable but very heavy, and it requires careful handling during installation. Cast iron sinks are also heavy and durable, with an enamel finish that can chip if struck with heavy cookware.
There is no single best sink material. A busy family kitchen may prioritize stain resistance and easy cleanup. A rental property may benefit from a durable, straightforward stainless option. A full kitchen remodel can support a heavier statement sink when the cabinet and countertop plan are built around it.
Confirm Faucet and Plumbing Compatibility Before Ordering
Many sink replacements become complicated at the faucet stage. Count the holes in the existing sink or countertop and compare them with the new faucet requirements. A single-handle faucet usually needs one hole, while separate handles, side sprayers, soap dispensers, water filters, and air gaps may need additional openings.
If you are changing from a standard faucet to a pull-down model, check the clearance between the faucet and upper cabinets or a window. Also inspect where the water supply valves sit below the sink. Old shutoff valves, corroded supply lines, and worn drain fittings should be addressed while the sink is disconnected, not after the new installation is complete.
The drain location is another detail that affects the job. A deep single-bowl sink can reduce the space between the drain and the cabinet floor. In some homes, the drain pipe needs to be adjusted to maintain proper slope and fit a garbage disposal. This is common, manageable plumbing work, but it should be planned before installation day.
If you have a disposal, dishwasher drain, hot water dispenser, reverse osmosis system, or water filter, make sure the new sink and base cabinet have enough room for all components. A clean-looking sink installation should not leave you with unusable storage or crowded plumbing connections.
Know When a Simple Replacement Becomes a Remodel
A like-for-like replacement is typically the fastest route. For example, changing an old drop-in stainless sink for a new drop-in model with similar dimensions may require minimal countertop or plumbing changes.
The project becomes more involved when you change mounting type, enlarge the cutout, install a farmhouse sink, relocate plumbing, replace countertops, or modify cabinets. That does not mean the upgrade is a bad idea. It means the work should be scoped as a coordinated kitchen improvement rather than treated as a quick fixture swap.
Cabinet condition deserves close attention. Water damage under a sink is common, especially around the cabinet bottom and rear panel. Soft particleboard, mold, staining, or swollen cabinet material should be repaired before the new sink goes in. Covering up damage only allows moisture problems to continue.
What Professional Installation Should Include
A professional installation is about more than dropping a sink into a hole. The old sink and plumbing connections should be removed carefully, the countertop opening inspected, and the cabinet checked for water damage or structural concerns.
The new sink must be properly supported for its weight and installation method. This is especially critical for undermount, fireclay, cast iron, and farmhouse models. The installer should use the appropriate sealant, secure all mounting hardware, reconnect water supply lines and drain components, and test the faucet, drain, disposal, and dishwasher connection for leaks.
Testing matters. A slow leak under the sink may not be obvious during a quick visual check, but it can damage cabinets over time. Water should be run through both hot and cold lines, the drain should be filled and released, and the disposal should be operated if one is installed.
At Cobo Kitchen Master & Home Repair, sink replacement can be handled as part of one coordinated service, including sink and faucet selection, plumbing adjustments, cabinet repairs, countertop work, and installation. That means fewer handoffs, fewer scheduling gaps, and a clear point of accountability from start to finish.
Prepare Your Kitchen for Installation Day
Clear everything out of the sink base cabinet before the crew arrives. Remove cleaning products, trash bins, organizers, and stored cookware. If the cabinet has a water filter or disposal, let the installer know in advance so the proper connections and parts can be planned.
Keep in mind that water to the kitchen sink will need to be shut off during the work. If the job includes countertop cutting, cabinet modifications, or plumbing changes, the sink may be unavailable longer than a basic replacement. Planning meals and cleanup around that temporary disruption makes the day easier.
Do not make the decision based on the sink price alone. A less expensive sink that does not fit properly can create higher costs in countertop work, cabinet repairs, or repeat plumbing visits. The better value is a sink that fits the space, supports your routine, and is installed correctly the first time.
A new kitchen sink is one of the most used improvements in the home. Choose it with the same care you would give a countertop or cabinet upgrade, and insist on an installation that leaves the cabinet dry, the plumbing secure, and the kitchen ready for daily use.